Rubber Stamping for Beginners: Techniques for Crisp Impressions, Inks, Masks and Embossing
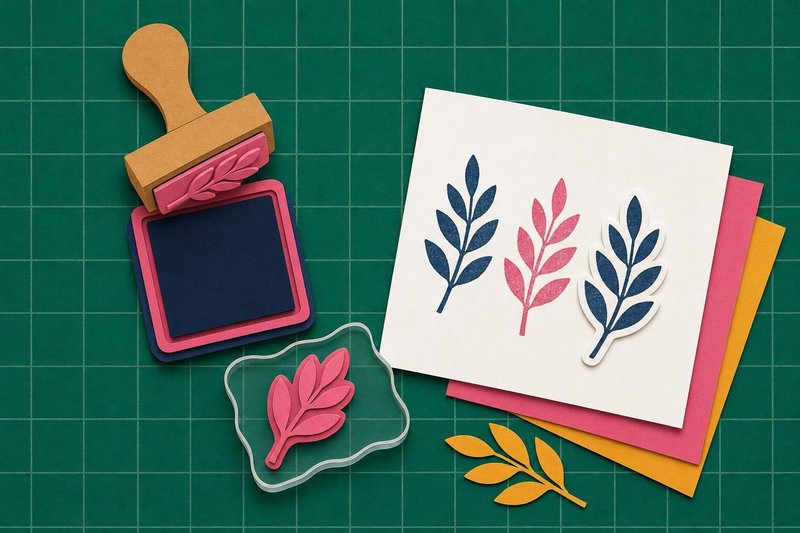
On the table
- Clear photopolymer stamp set with one or two sentiments
- Acrylic blocks, 2 x 3 and 4 x 4 inch
- Black hybrid or dye ink pad that prints crisp on smooth cardstock
- Smooth white cardstock, 80–110 lb cover
- Thin foam stamping mat or an old mouse pad, about 1/8 inch thick
- Clear embossing ink, clear embossing powder and a craft heat tool
- Low-tack masking paper or sticky notes
- Stamp cleaner or alcohol-free baby wipes and a scrubber pad
Most stamped cards fail in small ways that basic rubber stamping techniques fix: a greeting that tilts, a solid flower with white speckles in the middle, a black outline that smudges the moment a marker touches it. Each fault has a specific cause, and almost none of them is the stamp itself.
Ink, paper, pressure and placement do the real work. Rubber stamping for beginners comes down to getting those four right on one plain image before adding anything clever, and an afternoon with scrap cardstock covers most of it. The rubber stamping techniques that come later (embossing, masking, blending) all rest on that same clean impression.
Rubber stamping for beginners: the first clean impression
Start with one stamp and one ink. A sentiment of three or four words on a clear stamp makes a good test piece, because uneven ink and crooked placement both show at once.
- Peel the stamp off its carrier sheet and press it onto an acrylic block a little larger than the image. A block much bigger than the stamp tends to touch the pad at its edges and print a faint rectangle.
- Tap the ink pad onto the stamp several times. Tilt the stamp under a lamp: the whole surface should look evenly wet, with no dry islands.
- Set the cardstock on a thin foam mat. Press the stamp straight down with both hands, hold for a second, and lift it straight up.
- Wipe the stamp before the ink dries in the fine lines.
That foam mat matters more than it looks. On a hard table the paper only meets the high points of the stamp; with 1/8 inch of give underneath, the paper wraps slightly around the image and the solid areas fill in.
Rubber stamping for beginners often stalls at the next stage: the impression looks fine on scrap and pale on the real card. Blame the paper. Textured or recycled cardstock breaks up fine lines, while a smooth white cardstock of 80 to 110 lb takes detail cleanly and survives coloring afterward.
Inks and stamps, the two purchases that decide most results
Every ink belongs to a family with its own habits. Dye ink soaks into the paper and dries in seconds. Pigment ink sits on the surface, stays wet longer and covers dark paper. Hybrid inks pair quick drying with crisp edges, chalk inks dry matte, and solvent inks grip acetate, glass and metal. The guide to stamp inks sorts them by paper, drying time and what goes on top afterward.
Stamps come in three constructions. Clear photopolymer stamps are see-through and take up almost no room. Red rubber cling stamps carry more ink on big solid shapes and last for decades kept out of the sun. Wood-mounted rubber is the traditional form and the bulkiest to keep. Clear, cling and wood-mounted stamps compared covers which suits detailed line art and which suits bold silhouettes.
| Job | Stamp that suits it | Ink that suits it |
|---|---|---|
| Fine line art to color with markers | Clear photopolymer | Marker-safe dye or hybrid, black |
| Large solid silhouette | Red rubber cling or wood mount | Pigment or dye, stamped twice |
| Greeting on dark cardstock | Clear | White pigment, or embossing ink plus powder |
| Image on acetate | Clear or rubber | Solvent ink |
| Soft background pattern | Any background stamp | Dye ink, ideally a blending ink |
Rubber stamping techniques that go past a single image
Once single impressions come out clean, four rubber stamping techniques open up most of what shows on finished cards.
Heat embossing
Stamp in slow-drying embossing ink, pour powder over it, tap off the excess and melt what stays with a heat tool. The result is raised, glossy and fully opaque, in clear, white, gold or any color. Static is the usual enemy, since stray grains cling to fingerprints and melt into specks. The heat embossing guide goes through powders, anti-static prep and the classic faults.
Masking
Masking makes one stamped image appear to sit behind another. You stamp the front image, cover it with a cut-out copy of itself, stamp a second image so it overlaps, then lift the mask. Repeated in layers, it builds a whole landscape from a handful of stamps. Masking stamped images explains mask paper, where to cut, and mortise masks.
Positioning and double stamping
A stamp positioning tool holds the stamp on a hinged door above the paper, so it comes down in the identical spot each time. Pale impression? Re-ink and close the door again. The same tool squares sentiments to the card edge and makes stamping one greeting on twenty cards a calm job. The stamp positioning tool guide covers setup and layering stamps.
Ink blending
Blending tools move ink onto paper in soft circles and build gradients with no hard edge anywhere. It is the background technique behind a large share of stamped cards, and it pairs naturally with masks and stencils. The ink blending guide covers tools, color order and why a blend goes grainy.
Four faults beginners run into
Overinking comes first. A stamp pressed hard into a juicy pad picks up ink between the lines as well as on them, and the impression prints with a blurred halo. Lighter taps, more of them.
Rocking comes second. Rolling a block from edge to edge feels as if it should improve coverage. It prints the stamp’s own edges, or the edge of the block, and doubles fine lines. Press, hold, lift.
Coloring too early is the third. Dye ink feels dry within seconds yet can still smear under a water brush, and pigment ink on smooth cardstock may need several minutes, or a short pass with a heat tool, before anything touches it.
The fourth is skipping a test print with a brand-new stamp. Fresh clear stamps often resist ink and print speckled until the factory surface wears in; rubbing the face lightly with a white plastic eraser, or stamping it a few times on scrap, fixes that before it spoils a card panel.
Rubber stamping techniques for cards and coloring
Most stamping ends up on a card front. A single crisp sentiment on a white panel is where the card making section picks up, with layouts, mats and folds. Line art stamped in a waterproof ink becomes a coloring page instead: the coloring section covers alcohol markers, water-based markers, pencils and watercolor over stamped outlines, and each of those media has its own demands on the ink beneath it.
So choose the outline ink last, once you know what goes on top of it. Alcohol markers reactivate many dye inks, watercolor lifts any ink that is not waterproof, and colored pencils leave every ink alone. These rubber stamping techniques all reward one cheap habit: stamp a test image on the paper you plan to use, color over it after ten minutes, and keep whichever pad survives without a gray smear.
Questions crafters ask
Why is my stamped image patchy in the middle?
Usually too little pressure on a large solid area, or a hard work surface. Stamp onto a thin foam mat, press straight down without rocking, and if the image still looks speckled, re-ink and stamp a second time in a positioning tool.
Do I need to clean stamps after every use?
Clean them before switching colors and at the end of a session. Dye and pigment inks come off with a damp cloth or baby wipe; solvent ink needs its matching cleaner, and ink left to dry in fine lines shows up in the next impression.
What is the difference between rubber stamps and clear stamps?
Rubber stamps are cut from red rubber and usually backed with cushion foam, either as cling stamps or glued to a wood block. Clear stamps are photopolymer, stick to an acrylic block on their own, and let you see exactly where the image will land.
Which ink should I buy first?
A black ink that gives crisp lines on smooth cardstock and does not smear under the coloring medium you use most. Check the label, since many dye inks bleed under alcohol markers.
Can I stamp on dark cardstock?
Dye ink barely shows on black or navy stock. Use an opaque pigment ink in white or a pale color, or heat emboss with white or metallic powder, which sits on top of the paper and covers it completely.