Mixed Media Art Techniques for Beginners, From the Gesso Ground to Distressed Edges
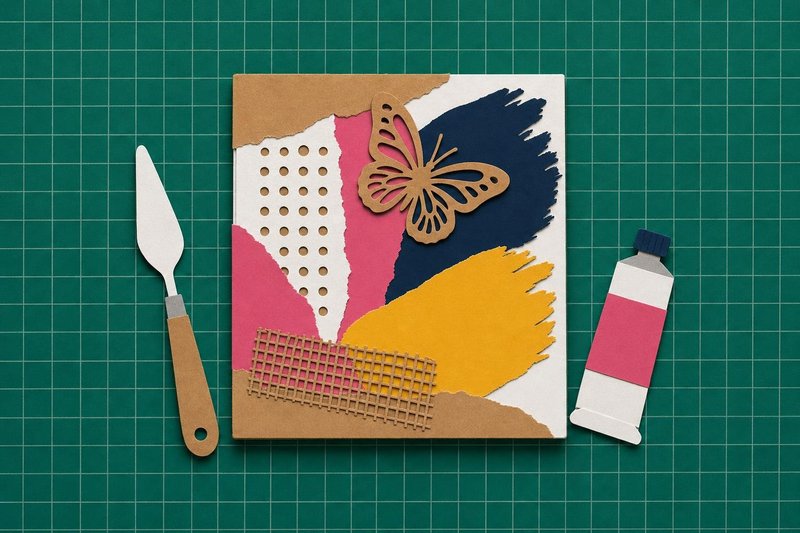
On the table
- Mixed media paper, 98 lb (160 gsm), 9 x 12 inch pad
- White gesso, 8 oz jar
- Modeling paste or light texture paste
- Two or three plastic stencils, 6 x 6 inch
- Palette knife or an old gift card
- Synthetic flat brush, 1 inch
- Matte medium or soft gel medium for collage
- Pigment or waterproof archival ink pad
- Heat tool (optional, for faster drying)
Most mixed media art techniques come down to what sits underneath. Card making starts on finished cardstock, but here the surface is something you build: a ground of gesso, maybe a raised pattern of paste, washes of ink or paint, torn paper, stamped marks and handwriting, each layer changing how the next one behaves. Put them in a sensible order and a single 9 x 12 inch sheet carries all of that and still lies flat. Put them in the wrong order and dye ink beads on slick acrylic, or wet glue soaks through and the paper tears under your fingertip.
That ordering problem is most of what mixed media art asks you to learn. The materials themselves are cheap and forgiving.
Mixed media art for beginners: a first page in one afternoon
The easiest start in mixed media art for beginners is one heavy sheet, one jar of gesso, one stencil and whatever paper scraps are already in the house. Tape the sheet to a cutting mat or a piece of board with low-tack painter’s tape on all four sides. The tape keeps the paper from curling while it is wet and leaves a clean white border when you peel it off at the end, which makes even a messy first attempt look framed.
Scrape a thin coat of gesso across the sheet with an old gift card. Streaks are fine; they show through later washes as a faint texture. While it dries, tear a few strips from a magazine, a book page with small type, or a sheet of patterned paper. Glue them down with matte medium, brushing a little under and a little over each piece. Matte medium goes on milky white and turns clear as it dries, so you can see when the layer is ready.
Then add color, a stenciled pattern in one corner, and a few words. Stop there.
A first page with five layers teaches more than a first page with twelve, because every decision stays visible. Mixed media art for beginners goes wrong mostly through one habit: adding a new layer before the last one has dried, which smears, lifts and muddies everything below it.
The layer order that keeps a page flat and clean
| Order | Layer | Typical material | Dry before the next layer |
|---|---|---|---|
| 1 | Ground | White, clear or black gesso | About 30 minutes for a thin coat |
| 2 | Texture | Modeling paste through a stencil | A few hours thin, overnight if thicker than about 1/8 inch |
| 3 | Collage | Tissue, book pages, patterned paper in matte medium | Until the medium has turned clear |
| 4 | Color | Acrylic wash, spray ink, blended ink | Until it no longer feels cool or tacky |
| 5 | Marks | Stamps, stenciled details, doodles | A few minutes, longer for pigment ink |
| 6 | Words and edges | Paint pen, gel pen, distressed edges | Before sealing |
Collage and color often swap places. Gluing paper first and painting over it knits the pieces into the page; painting first and gluing on top keeps the collage crisp. Neither is wrong.
One rule does not bend: anything water-reactive stays on top or gets sealed. Many spray inks and some dye inks move again when water touches them, so a wet layer of glue or paint over them drags color across the page. Pigment ink and waterproof archival ink stay put.
Mixed media art techniques, from ground to finish
Five mixed media art techniques carry most pages, journals and altered objects. Each has its own guide with sizes, drying times and the problems that come up.
Grounds and raised texture
Gesso primes paper, chipboard, wood and printed pages so paint and ink grip them; texture paste spread through a stencil adds a raised pattern you can ink, sand or carve. Both are covered in gesso and texture paste for mixed media, including why thick paste cracks on a page that bends.
Stencils with paste, ink and spray
The same plastic stencil gives a raised white pattern with paste, a soft gradient with a blending brush and a speckled, uneven print with spray ink. The stenciling guide covers bleed under the edges, lining up layered stencils and getting dried paste off the plastic.
Art journals
A journal holds pages in sequence, which brings its own trouble: pages that buckle, spreads that glue themselves shut and a spine that will not close once the collage piles up. Art journaling starts with choosing the book and prepping the pages before any paint goes on.
Altered books, tins and boxes
An old hardcover, a mint tin or a cigar box becomes the substrate. Glossy covers, bare metal and laminated cardboard all reject gesso until they are sanded or primed, and altered art walks through that prep for each surface.
Aged and distressed paper
Inked edges, sanding, crumpling, tearing and tea staining make new paper look handled. Distressing paper compares the methods by the look each one gives and the paper it needs.
Surfaces besides a loose sheet
Paper is the cheapest place to practice, but the same layers go onto almost anything that will hold gesso.
Canvas panels and stretched canvas come pre-primed and take paste and heavy paint without any buckling. An 8 x 10 inch panel is a comfortable size for a first piece meant to hang on a wall.
Chipboard and grayboard from the back of a paper pad make rigid, free substrates for tags, small panels and book covers. Two thin coats of gesso keep them from warping.
Cradled wood panels are the heaviest option and the most forgiving with thick texture, because nothing flexes.
Card fronts are the smallest surface of all. Keep the layers thin on a card panel of 3.75 x 5 inches, so it still sits flat on an A2 base and slides into its envelope; a stenciled background and one stamped image are plenty.
Where stamps and scrapbook papers fit in
Most mixed media art techniques borrow from neighboring crafts. Rubber stamps add images, text and repeat patterns, but a gessoed or pasted surface is uneven, so stamp on a foam mat or a mouse pad to let the stamp reach into the low spots. Pigment and archival inks work best on acrylic grounds; the rubber stamping section explains which ink does what.
Leftover patterned paper from scrapbooking is ideal collage material. Thin papers soak up matte medium and sit flat; heavy cardstock scraps add a raised edge that catches ink later. Keep a box of strips and offcuts by the work table. A page that feels unfinished often needs one more torn strip more than it needs more paint.
Drying, sealing and storing finished pieces
A heat tool speeds every layer except thick paste. Hold it a few inches away and keep it moving; paper that gets too hot scorches at the edges before the middle is dry.
Finished pages and objects can stay unsealed if they live in a closed journal or a box. For anything handled often, brush on a thin coat of matte acrylic varnish once every layer is completely dry, and test it first on a scrap with the same inks, because a brush stroke can drag some water-based inks. Store loose pages flat with a sheet of wax paper between each one, and stack nothing heavy on them for the first week while the acrylic cures.
Questions crafters ask
What paper works for mixed media art?
Mixed media paper of about 98 lb (160 gsm) handles gesso, ink and light paint washes. For heavy spraying or wet collage, 140 lb (300 gsm) watercolor paper buckles far less.
Is gesso the same as white acrylic paint?
No. Gesso carries chalk (calcium carbonate) along with the acrylic binder, so it dries matte and slightly rough, and the next layer grips it. Acrylic paint dries smoother and more plastic, and some inks bead up on it.
Can I use a heat tool to speed up drying?
Yes for gesso, paint, spray ink and thin collage. Keep the tool moving and a few inches away from thick texture paste, which can bubble or puff if it heats too fast.
Why do my finished pages stick to each other?
Acrylic layers stay slightly tacky for days and fuse under pressure. Let pages dry fully, then keep a sheet of wax paper or deli paper between spreads for the first week.
Do I need a special journal to start?
No. A loose sheet of heavy paper taped to a board is enough to try every technique once; a bound journal only matters when you want to keep the pages together.