Coloring Stamped Images: Marker, Pencil and Watercolor Techniques
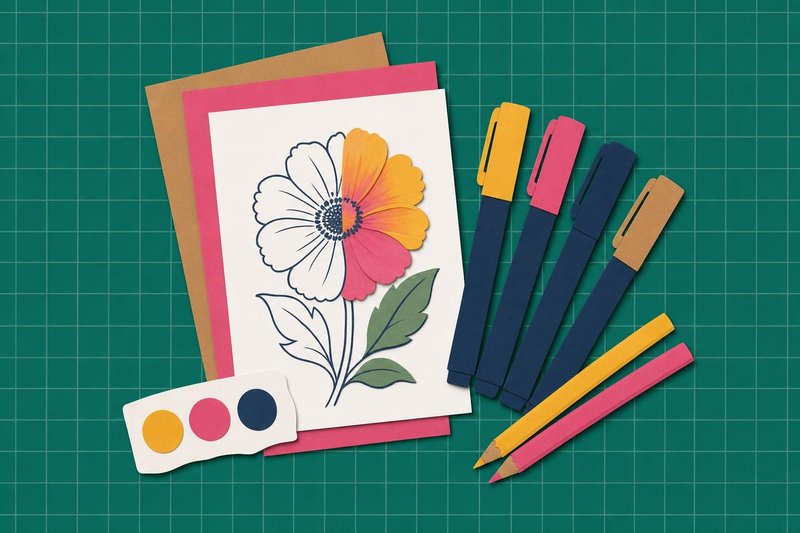
On the table
- Smooth bright-white cardstock, 80-110 lb, for marker work
- Watercolor paper, 140 lb (300 gsm), cut to 4 x 5.25 in panels
- Black stamping ink labeled waterproof and safe for alcohol markers
- Clear embossing powder and a heat tool
- Three to five markers in one color family, alcohol- or water-based
- Colored pencils, 24 colors, wax- or oil-based
- Water brush with a medium tip
- Scrap copy paper to catch marker bleed-through
A stamp hands you a clean outline in a few seconds. Everything after that comes from the coloring: the shading, the highlights, the way a petal fades from deep red to almost white. That part takes longer to learn than the stamping ever did. Four media do nearly all of the work in paper crafting, namely alcohol markers, water-based markers, colored pencils and watercolor.
Coloring stamped images goes wrong most often at the pairing stage. Each medium wants its own paper and its own stamping ink, and a smeared outline or a fuzzy edge usually traces back to a mismatch between the three. The coloring techniques for stamped images on this page start from that pairing and then move on to blending.
Coloring techniques for stamped images, medium by medium
| Medium | Paper | Ink to stamp with | Blending method | Learning curve |
|---|---|---|---|---|
| Alcohol markers | Smooth, bright-white marker cardstock, 80-110 lb | Dye ink labeled alcohol-marker safe, or a heat-embossed line | Overlapping light-to-dark layers while the ink is still wet | Moderate: streaky at first, then fast |
| Water-based markers | Smooth cardstock for dry coloring, watercolor paper once water is added | Waterproof ink or embossing | Palette and water brush, tip to tip, blender pen | Gentle |
| Colored pencils | Paper with tooth: vellum Bristol, standard cardstock, kraft | Any ink, once dry | Pressure layering, burnishing, solvent | Slow, but very forgiving |
| Watercolor | Watercolor paper, 140 lb, hot- or cold-press | Waterproof ink or embossing | Wet-on-wet, glazing, lifting | Steepest: water has a mind of its own |
Read the table as a chain. The paper limits the medium, the medium limits the ink, and the ink decides whether the outline stays black or bleeds into the color around it. Alcohol markers on watercolor paper sink in and turn dull. Watercolor on thin cardstock curls up like a potato chip. Pencils on slick marker paper stop taking color after a couple of layers, because the surface has no texture left to grab pigment.
The learning curve column is a judgment, not a measurement. Alcohol markers look hard because the first attempts streak, yet the stroke that fixes the streaks can be learned in an evening of practice on scrap. Watercolor stays unpredictable for much longer.
Which medium suits which stamp
Stamp style narrows the choice before personal taste does.
Line-art florals with large open petals take watercolor well. Wide areas give the water room to blend, and loose edges look intentional on a flower. Character stamps with faces, hands and small clothing details are where alcohol markers do their best work: a fine brush nib reaches between two lines that sit very close together, and the ink blends without visible strokes. Images stamped on kraft or colored cardstock call for colored pencils, because transparent marker ink sinks into brown paper and goes muddy while an opaque pencil sits on top and a white highlight stays white. The colored pencil guide covers kraft in detail.
Batch work, such as twenty matching holiday cards, favors water-based brush markers. They are quick, they do not soak through to the next sheet, and a two-tone blend looks finished without a long session per image.
Detailed realistic stamps are the exception to every rule above. An animal with fur or a bird drawn in an illustrated style usually gets two media: a marker or watercolor base for the large color areas and pencil on top for texture. For loose, painterly images, watercoloring stamped images walks through paper, palettes and water brushes.
Markers for coloring stamped images: alcohol or water-based
Both kinds of markers for coloring stamped images come with a brush nib, and from across a table the finished cards can look alike. In use they behave nothing like each other.
Alcohol markers carry dye in alcohol, and Copic is the name most crafters use for the whole category. The alcohol evaporates quickly, the dye spreads through the paper fibers, and two wet colors laid side by side melt into each other with no visible seam. The same spreading pushes ink past the stamped outline when the paper near an edge gets saturated, and it soaks straight through the sheet onto the desk. The alcohol marker guide covers color families, paper and bleeding.
Water-based markers sit closer to watercolor. On dry cardstock they blend only a little, and stripes show where a stroke overlaps ink that has already dried. Add water and they turn into paint: scribble the marker onto a plastic palette, pick the color up with a water brush, and soft washes follow. Tombow dual brush pens are the familiar example, and the water-based marker guide explains palette and tip-to-tip blending.
Choosing between the two markers for coloring stamped images comes down mostly to finish. Alcohol markers give smooth gradients that resemble printed illustration. Water-based markers give a softer, more hand-painted look, and they work on ordinary cardstock without bleeding through it. For realistic shading, alcohol is the better tool.
Stamping the outline so it survives the color
The outline goes down first, so it has to cope with whatever comes next. In coloring stamped images, the ink choice is the step most often skipped.
Alcohol dissolves many standard dye inks: the black line lifts and drags gray streaks into a yellow petal. Water dissolves others. Under either medium, use an ink labeled alcohol-marker safe or waterproof and let it dry completely. Heat embossing is the other route. An embossed line is melted powder that neither alcohol nor water can touch, and its raised edge holds a wash back a little. Ink types and embossing are covered in the rubber stamping section.
Watercolor paper and heavily textured cardstock often take a stamp patchily, leaving pale gaps in the line. Stamping the image a second time in exactly the same spot fills them.
Colored pencils are the relaxed case. Any ink works once it is dry, pigment ink included, and a gray or brown outline often suits soft pencil shading better than solid black.
Blending techniques every medium shares
All four coloring techniques for stamped images rest on the same few decisions, whatever tool is in your hand.
- Pick a light source before the first stroke, upper left being a common default, and keep it the same for every element in the image.
- Choose three values of one color: light, middle and dark. Two look flat, and five are hard to keep clean.
- Cover the whole area with the lightest value, leaving bare paper where the brightest highlight will sit.
- Add the middle and dark values on the side away from the light, in creases and under overlapping parts.
- Go back with the lighter color to soften each step between values.
Leaving paper white is harder than it sounds. Alcohol ink spreads into a highlight the moment you color near it, and watercolor has no white paint that looks like bare paper. A white gel pen can fake a highlight at the end, but a highlight saved as untouched paper always looks cleaner.
Where the colored image goes next
Color the image on its own panel, never on a finished card base, so a spoiled attempt costs a single 4 x 5.25 inch scrap. Colored images are often fussy cut with small scissors, leaving a thin white border, and lifted on foam squares as the focal point of a layout. The card making section covers bases, mats and layouts built around one image like that.
Marker inks of both kinds are dye-based and fade in direct sun. A card meant to stand on a windowsill for months keeps its color longer when the image is done in colored pencil or artist-grade watercolor, which leaves coloring stamped images in markers for cards that live in a drawer, an album or an envelope.
Questions crafters ask
Which coloring medium is easiest for a first stamped image?
Colored pencils. They work on almost any cardstock, accept any dry stamping ink and build color slowly, so a mistake costs one light layer instead of a soaked panel.
Can I use ordinary dye ink under markers or watercolor?
Usually not. Alcohol and water both re-wet a standard dye ink, and the black line smears gray into the color. Use an ink labeled for alcohol markers or waterproof, or heat emboss the outline.
Do I color the image before or after it goes on the card?
Before. Color on a separate panel or a piece you will fussy cut, so a spoiled image costs a scrap, then trim, mat and adhere the finished piece.
How long should stamped ink dry before I start coloring?
Until the line looks matte and a clean fingertip pressed on a thick area picks nothing up. Dye inks get there within minutes on cardstock; pigment ink can stay tacky far longer unless you heat set it.
Can I combine two media on one stamped image?
Yes, working from wet to dry: markers or watercolor first as the base, colored pencil on top for shading and texture. Marker ink skips over pencil wax, so the reverse order goes badly.